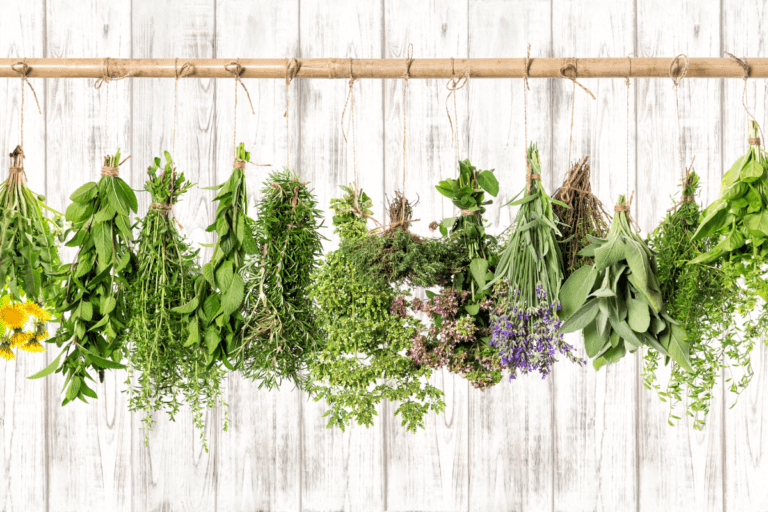
Herbalism is one way you can gain more control over what you put in your body. The vast world of working with plants can be a daunting skill to begin to learn; however, for beginners, making infused oils is a great place to start!
Types of heat-infusion methods for herb infused oil
Making herb infused oil is simple enough in theory, but there are a few different methods you can use. Ultimately, what you will be doing is steeping the dried herbs of your choice in a carrier oil in order to imbue the oil with the flavor and healing properties of the herbs used.
The infused oil you create can be used to enhance your cooking, for instance olive oil infused with basil, lemon or thyme makes for excellent salad dressings. Herb infused oils can even revitalize the look of your skin when used to create all natural skincare products such as salves, scrubs and balms. There is no shortage of different herbs and oils to learn about and work with, making this a fun and creative hobby.
The process of infusing oils with herbs can be lengthy since the herbs need time to macerate, but certain infusion methods are quicker and easier than others. Still, each method has its own benefits, and through practice you’ll find which works best for you and your needs.

It is important that whichever method you decide to use that you follow the directions clearly since using an oil that has become oxidized or rancid can cause serious health issues. So, if an herbal oil you’ve created changes color, smells strange, or has mold growth throw it out!
The list below will briefly go over the methods you can use to make your own infused oils at home, but I’ll share a more detailed method later in the article. Just remember to keep everything clean, sterilized and moisture free as you make your own infused oil!
- Solar Infusion. Begin by choosing the dried herbs and carrier oil you’d like to use for your herb infused oil. Using a clean jar, place the herbs inside first. Next, fill the jar with the oil making sure to completely cover the herbs with the oil. Tightly place the lid on the jar and shake it between your hands to coat the herbs fully, be sure to do this slowly so that no air bubbles are formed in the process. Then place the jar in a brown paper bag and leave it on a sunny windowsill for about two weeks. Pick up the jar—while still in the bag—every 1-3 days and shake it once again slowly between your hands in order to release the herbal constituents. After the 2 weeks strain the herbs and funnel the herb infused oil into a glass jar or small vial and store it away from direct sunlight.
- Double-Boiler Method. The double boiler method is much quicker but the infused oils will be less potent than those produced in other methods. Begin with a large stainless steel saucepan and fill it up about 1/4 the way with water and place on the stove. Bring water to boil while you place the herbs and carrier oil in a smaller, sterilized sauce pan. Make sure to use a sterilized spoon to mix all the herbs and rid the mixture of any air bubbles. Place the smaller saucepan inside of the larger one, keeping an eye on the water–make sure it stays between 120 and 140 degrees Fahrenheit and doesn’t boil over. If the water starts to get low slowly add in more water. After 30-60 minutes remove the infused oil from the stove and let cool for a few minutes before you strain and jar the oil.
- Stovetop or Crockpot Infusion. This method is great if you want to set it and forget it! Start by filling up your crockpot about 1/4 the way with water. Next, place the herbs and oil in your sterilized jar, making sure they are evenly coated and there are no air bubbles, and then place the jar in your crockpot. Set the crockpot to warm (not low) and leave the lid off. It’s important to use very low heat when making infused oils in order to preserve the herbs and oil and prevent any damage. Once again, monitor the water temperature and level, but this process will take anywhere from 4-8 hours. The jar will need to cool down before strain.
- Oven Infusion. This method is easy and requires even less attention than the crock pot method. Start by preheating the oven to 120-140 degrees Fahrenheit. Next, place your favorite herbs and oil in a sterilized oven safe dish, making sure the herbs are evenly covered in oil and that there are no air bubbles. Place the dish in the oven for 4-8 hours. Afterwards, allow the dish to cool before straining and jarring your herbal oil.
- Alcohol Intermediary Method. This process creates very potent oils which can last up to a year or even longer in some cases, however these herbal oils should only ever be used topically. First, chop or blend herbs–the herbs must be dried for this process so even if you use fresh herbs you will need to let them dry first. Next, place the herbs in your clean, sterilized jar. Add whole grain alcohol, such as vodka, in a 2:1 ratio (for example, 1 oz of herbs would be mixed with 1/2 oz of alcohol) so that the mixture is like damp soil. Leave the herb and alcohol mixture to sit for 24 hours. The next day, blend the mixture in a blender while adding the carrier oil of your choice. Blend for about 5 minutes to make sure the oil has completely mixed into the alcohol infused herbs. Then strain and jar the herb infused oil like you would in the other methods. However, you may want to use a thinner strainer since this method uses finely ground herbs, whereas a cheesecloth or nut milk bag will leave behind a lot more sediment at the bottom of the glass jars.
Types of carrier oils
Choosing the right oil is just as important as selecting the herbs you want to infuse into it. Both the herbs and oils you use for making these infusions have their own specific beneficial properties. However, before you choose your oil you first have to decide if you’ll be making a culinary or topical oil.
Culinary oil infusions will take your cooking to the next level by amplifying the flavor of the and potency of the herb and giving your dish that extra flavor. For instance, herbs like rosemary and garlic infused into avocado or olive oil can turn a simple roasted potato into an unforgettable dish.
Topical oils are used on your skin, so certain oils are going to be better than others. The skin of your face is more sensitive than other areas, so choosing an oil such as almond oil with its many skin benefits will only seek to enhance the oil, balm, salve, or soap you make.
- Almond oil. The number one oil we recommend is Oleum amygdalae or almond oil since it has so many beneficial properties. It’s anti-inflammatory and antibacterial so it’s great for acne prone skin. It also treats other skin conditions such as eczema and psoriasis, and can even reduce redness and scarring.
- Olive oil. Olea europaea L or olive oil is both an antioxidant and anti-inflammatory, and the benefits can be reaped from ingestion or topical use in skin care products. This is also a great carrier oil to use since it naturally has a slower rate of oxidation compared to other oils, but be sure to use extra virgin olive oil since it is less processed and retains more healthy vitamins.
- Grapeseed oil. Vitis Vinifera or grapeseed oil is a great carrier oil to have on hand since it can be utilized both for topical use as well as infused for enhancing the flavor of your favorite dishes. It has high linolic acid contents which is great for moisturizing your skin, however it also causes quicker oxidation, so these infused oils won’t last as long as others.
- Coconut oil. Fractionated coconut oil (MCT) is a popular option because it lasts longer than the other oils on this list and therefore has a lower risk of rancidity. It also has a creamy texture at room temperature which is great for making things such as lip balm or salves, and applied to the skin it actually helps to facilitate better moisture retention over time.
- Avocado oil. Persea gratissima or avocado oil is another excellent choice for carrier oil since it has naturally high levels of vitamin E, which means that infusions made with this oil will have a longer shelf life. Because vitamin E also helps promote hair growth, this oil can also be used to make an effective hair mask, as well as serving as one of the tastier cooking oils.
How to Infuse Herbs in Oil: the warm infusion process
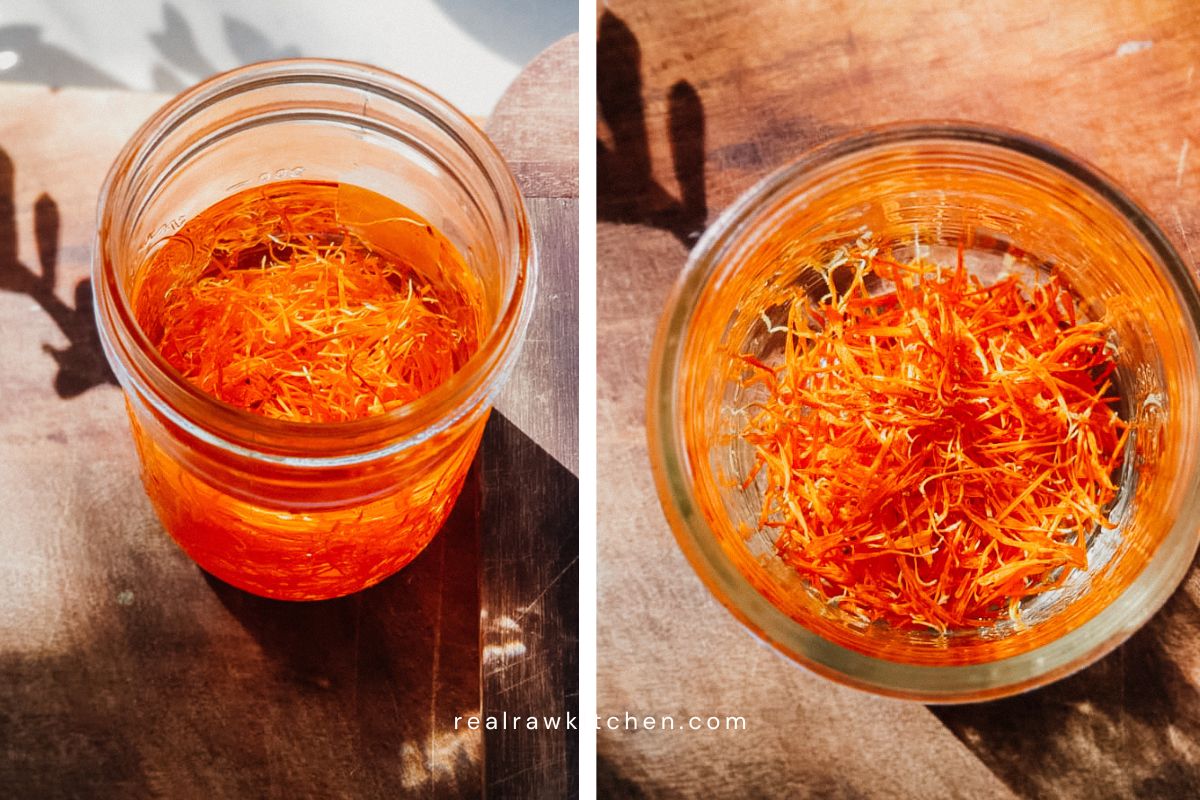
The warm infusion process (my preferred method) takes about 4-6 weeks, which is longer than every other method previously listed for making herb infused oils, but the slowness allows for oils with a higher efficacy. The longer that the herbs are allowed to macerate in the oil, the more of the herbal properties will become imbued into the infused oil. So this method is great if you are looking for high potency in your topical oils, or if you want to make cooking oils that pack a lot of flavor.
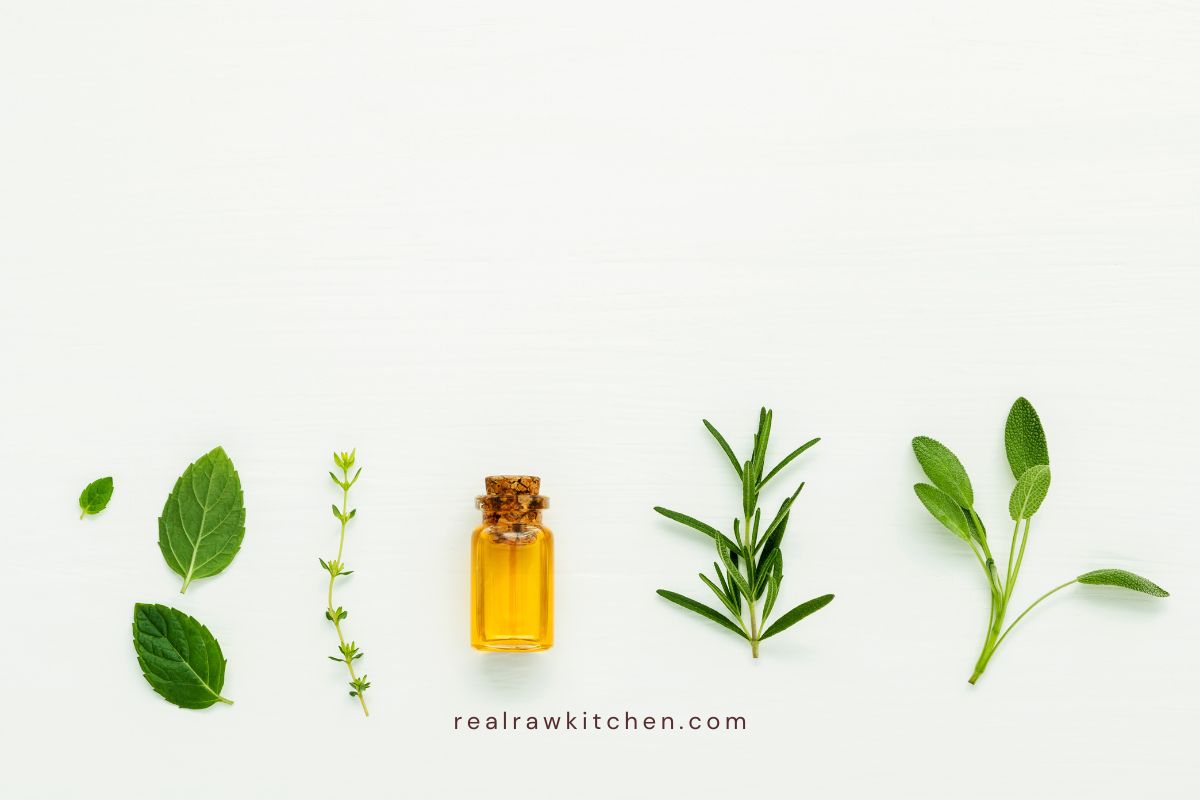
This method doesn’t require much else aside from herbs, oil, and glass jars. We suggest using calendula if you’re going to use your herb infused oil for skin care since it helps inflammation while it moisturizes and firms the skin. If you’re making a culinary infused oil, Rosemary is an excellent choice of herb since its flavor profile can be utilized in both savory and semi-sweet dishes.
Before you begin, it’s incredibly important to diligently clean, sterilize and dry every tool you will be using to make your herb infused oil. It is imperative that you keep moisture out of the entire process in order to avoid bacterial growth and the potential health risks that come with it.
What you need
- dried herb of choice, such as calendula and rosemary
- oil, we suggest almond oil for topical oils and olive oil for culinary oils
- dry, cleaned and sterilized glass jar with a tight fitting lid
- brown paper bag
- cheese cloth, strainer, nut milk bag, and/or an unbleached coffee filter
Directions
- Begin by selecting the oil and herbs you are going to use for your infusion. Using multiple herbs can be very beneficial and delicious, but be sure to choose only one carrier oil for the infusion process.
- Next you’ll need your sterilized jar. Fill the jar with the dried herb mixture of your choice, leaving a few inches of free space at the top of the jar.
- Then pour oil over the herbs making sure to cover herbs completely. The oil should fill at least one inch above where the herbs sit in the jar, you may even want to pour in more oil to ensure that all of the herbs are properly coated.
- Seal the lid of the jar tightly. You can place a piece of wax paper between the lid and the contents of the jar if you feel there might be a chemical coating on the lid that could affect the oil infusion.
- Take the jar in your hands and begin rocking it side to side and up and down, moving the oil over all of the herbs and creating an even coat without creating any air bubbles.
- Place the jar in a cool, dry and dark place in your home, making sure it is out of direct heat and sun since UV rays can damage the herbal oil.
- Pick up the jar every 2-4 days and rock it back and forth to help release the herbal constituents into the oil.
- After 4-6 weeks remove the jar from the paper bag and strain the herbal contents. You can use a cheesecloth for larger herbs, but if you’d like a finer strain you might prefer to use an unbleached coffee filter. Strain the contents of the jar fully, making sure to squeeze out as much excess oil as you can from the strainer.
- An optional next step is to add vitamin E oil to the strained and finished herbal oil in order to ensure that it stays fresh for as long as possible. Remember that some oils naturally have a slower rate of oxidation, so this step won’t be necessary for every herb infused oil you create.
- Be sure to label your jar with the oil and herbs used, as well as the date it was jarred in order to keep track of all your herbal oils! Another option is to funnel the oil into smaller dark glass vials instead of storing it in one large jar. Either way, keep your oil infusions in a dark, cool place in order to preserve them.
A few tips for infusing oil with herbs
Herb infused oils are a great way to begin learning the skill of herbalism and creating a more natural life from the inside out, but it is important to follow some simple rules in order to keep yourself safe and make sure that the products you create bring value to yourself and others.
- Use dried herbs. While there are some herbs like St. John’s Wort which are best used fresh, beginners should always err on the side of caution and use dried herbs. The moisture of fresh herbs can create dangerous bacteria during the infusion process.
- Grow your own herb garden. Whether you decide to use fresh or dried herbs, the best way to know that yours are clean and free of pesticides is by using homegrown herbs. This way you know for certain that no unwanted pesticides or bacteria are making their way into your herb infused oils.
- Always sterilize and clean your jar, and make sure the lid is on tight. cleanliness is super important when making herb infused oils, so make sure everything is cleaned and sterilized before you use it, especially the jars. Also, before you begin crafting your herbal oils, be sure to check and make sure you have selected a jar with a tight fitting lid. It’s very important that no dust or bacteria can enter the herbal oils while they are brewing in order to keep it from being contaminated and becoming harmful to ingest.
- Use vitamin E oil for longer lasting herbal oils. Adding this oil will help to slow down the oxidation process of the herb infused oils and give it a longer shelf life, but it is important to remember that vitamin E also makes the oil unsafe for digestion so it can only be added to herb infusions that will be used topically for all natural skincare products.
- You may want to use a coffee filter. After straining the oil infusion through a cheesecloth there is going to still be some plant material that settles at the bottom of the jar, if that is something you’d like to avoid then consider straining again with an unbleached coffee filter.
- Direct sunlight can harm your oil. Always store your oils in a dry, dark place at room temperature to keep any mold from growing.
- Use labels to keep everything organized. The more you get into making herb infused oils the more of them you will have around your house! Since some will be for cooking and some will be only for topical use you’ll want to make a habit of labeling them in order to differentiate between the infused oils.
Questions about making herbal oils
Once you get the hang of it, infusing oils is easy and fun but there are a few important questions you may need to ask before you begin. Here I’ll answer some of the most common questions that need to be answered when beginning on your herbalism journey.
How long do you infuse herbs in oil?
This will depend on the method you decide to use. The warm infusion method takes the longest—up to 6 weeks—while other methods can take just a few hours. A good rule to remember is that the longer the process takes the more potent the oil mixture will be.
What oil is good for infusing herbs?
Every oil has different properties which are better for some infusions. We suggest using sweet almond oil for any topical infusions because it has many skin benefits of its own which will only be enhanced by the dried herbs infused into it. We also suggest avocado oil for culinary infusions you make since this oil has natural amounts of vitamin E which will make for longer lasting herb infused oils!
What herbs are the best for making topical herb infused oils?
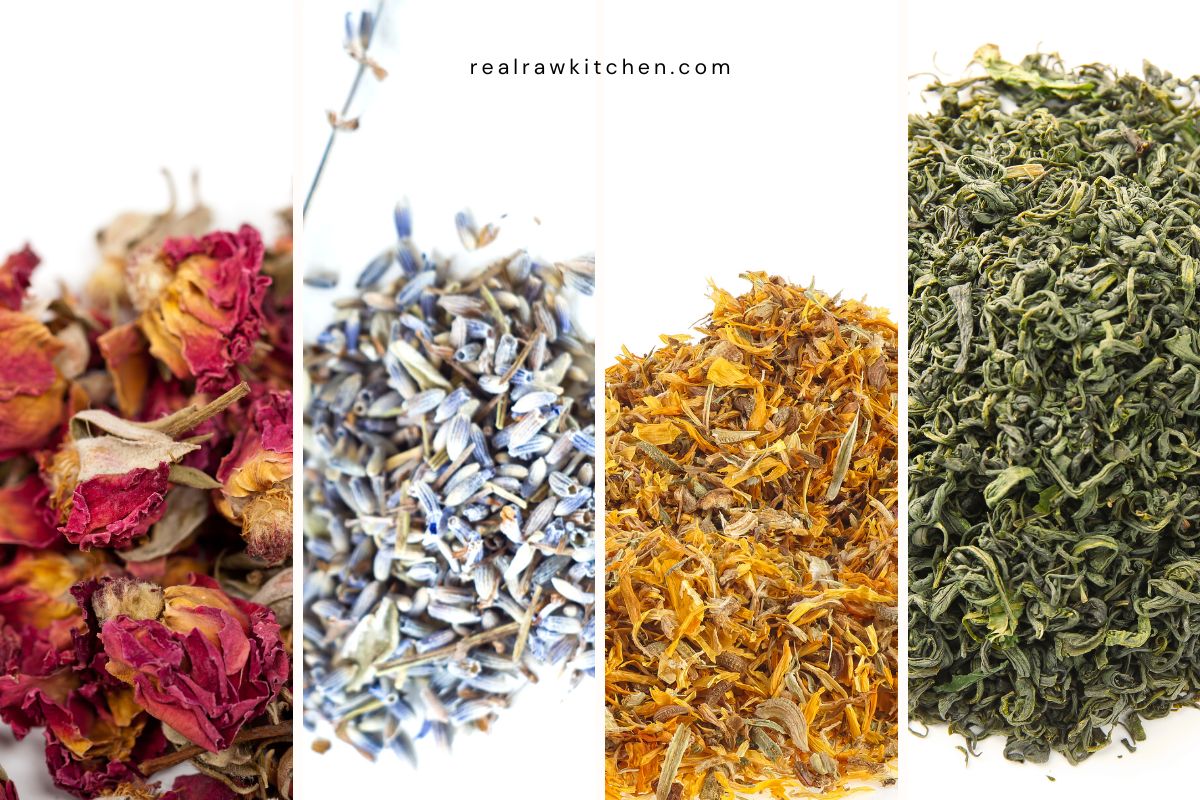
We suggest using calendula for topical oils since it has so many skin care benefits. Calendula is both anti-bacterial and anti-inflammatory, so it’s great for dry skin and healing wounds. Lavender is another great topical herb for infused oils because it’s good for hair growth, so use this herb for your homemade conditioners and hair treatments. Since Chamomile is also anti-inflammatory and antimicrobial, this is another great herb to use in your topical herbal oils since it will strengthen and heal your skin.
How long does fresh herb infused oil last?
Fresh herbal infusions will only last for a few weeks, so be sure to label them properly and check each time you use them to see if the color or smell has changed, because that is a sign that the oil may have gone bad. It’s also important to remember that fresh herb infused oils should never be used to create any products that will go on your lips to avoid botulism.
Do you have to dry herbs before infusing oil?
Dried herbs are best for beginners since fresh herbs can have negative health effects when processed incorrectly or when used after they have gone rancid. However, using fresh herbs can be great for certain herbal oils, especially if you want to use St John’s Wort!
Learn more about herbal medicine

Calendula Benefits For Skin For Eczema, Dryness, & Wound Healing
Here are the powerful calendula benefits for skin and why I use it in all of my skincare products
7 Herbs For PCOS (& Other Natural Remedies)
Research shows that these herbs for PCOS can help treat symptoms. Here’s which ones to try.
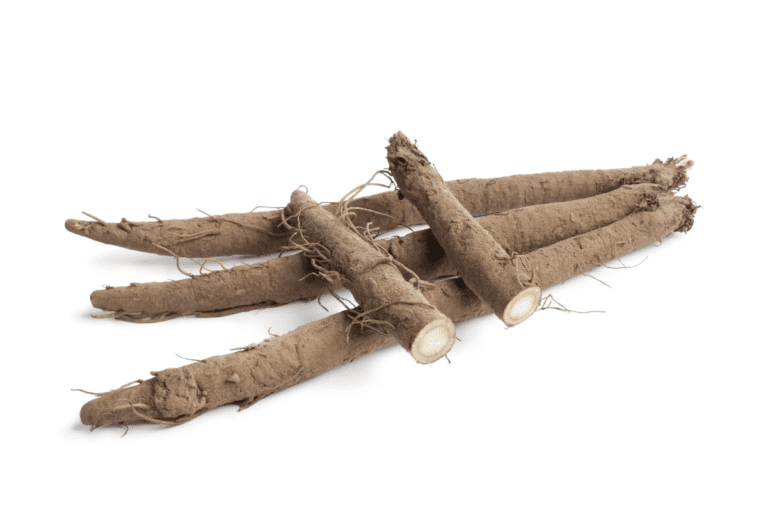
Burdock Root Benefits & Healing Recipes
These burdock root benefits will make you want to put this healing plant in your pantry!
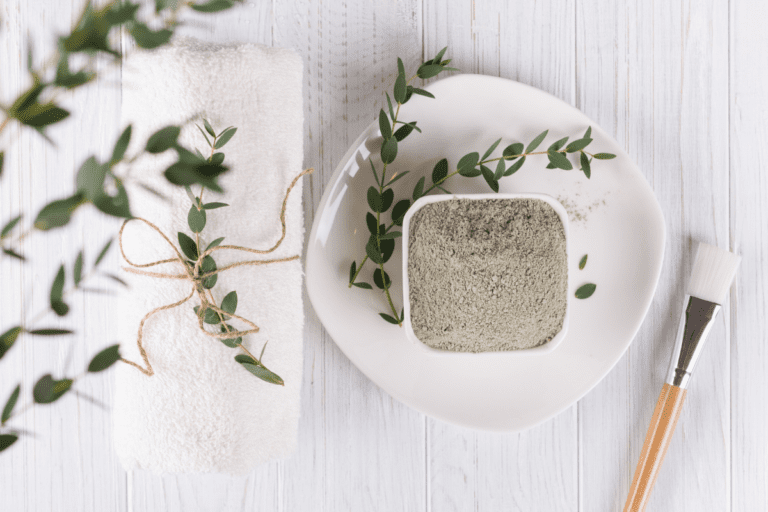
Incredible French Green Clay Benefits For Glowing Skin
Here are all of the incredible french green clay benefits for gorgeous, calm, healthy skin.

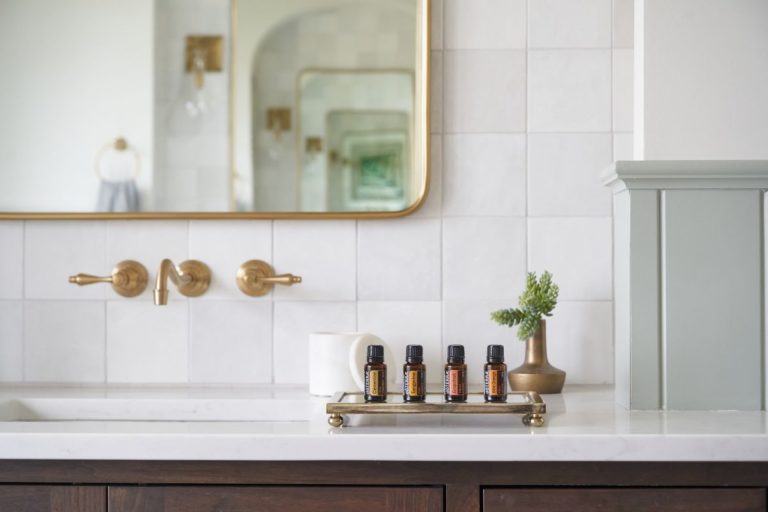
11 essential oils for PCOS relief and support
PCOS can be challenging for our beautiful bodies. Here are 11 essential oils for PCOS that can help make it a little easier.
How to use essential oils in the shower to heal everything
Here’s how I use essential oils in the shower, plus a few recipes!

How to make a perfect herbal sitz bath
Here are the perfect herbs for a healing sitz bath.
Exploring Mullein Plant Medicinal Uses (And Recipes)
Discover the medicinal benefits of the mullein plant for respiratory issues, skin conditions and ear pain. Plus a few recipes for your own home remedies.
6 best essential oils for the lymphatic system
Essential oils can be used to stimulate the lymphatic system, reduce inflammation, and improve immune system functioning. Learn how to use essential oils for lymph nodes and which oils are most effective.
Chickweed health benefits for your home
Learn more about the chickweed health benefits and why you’ll want it in your own home medicine cabinet.