(Updated February 2024)
I first learned how to make kombucha while living in Queensland, Australia. The warm, tropical conditions made it extremely easy to ferment things. I’ve since moved to a colder mountainous region, so I’ve developed a lot of experience brewing kombucha at home.
Making homemade kombucha is easy for anyone, as it is simply done by fermenting sweetened tea. Here’s how to make kombucha tea right at home!
Kombucha Ingredients
Homemade kombucha is actually quite basic. It is basically sweetened tea + kombucha SCOBY and start tea with water.
Here is what you will need to make a 1 gallon batch of kombucha. If you want to brew a smaller amount, simply adjust the measurements accordingly:
- 8 cups of filtered water
- 12 grams of loose leaf tea (or 8 tea bags)
- 1 cup of white vegan cane sugar
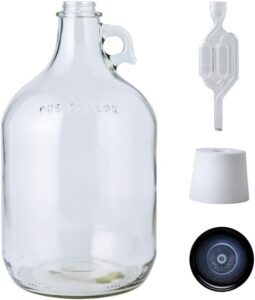
- 1 gallon glass jar (I like this little kombucha kit)
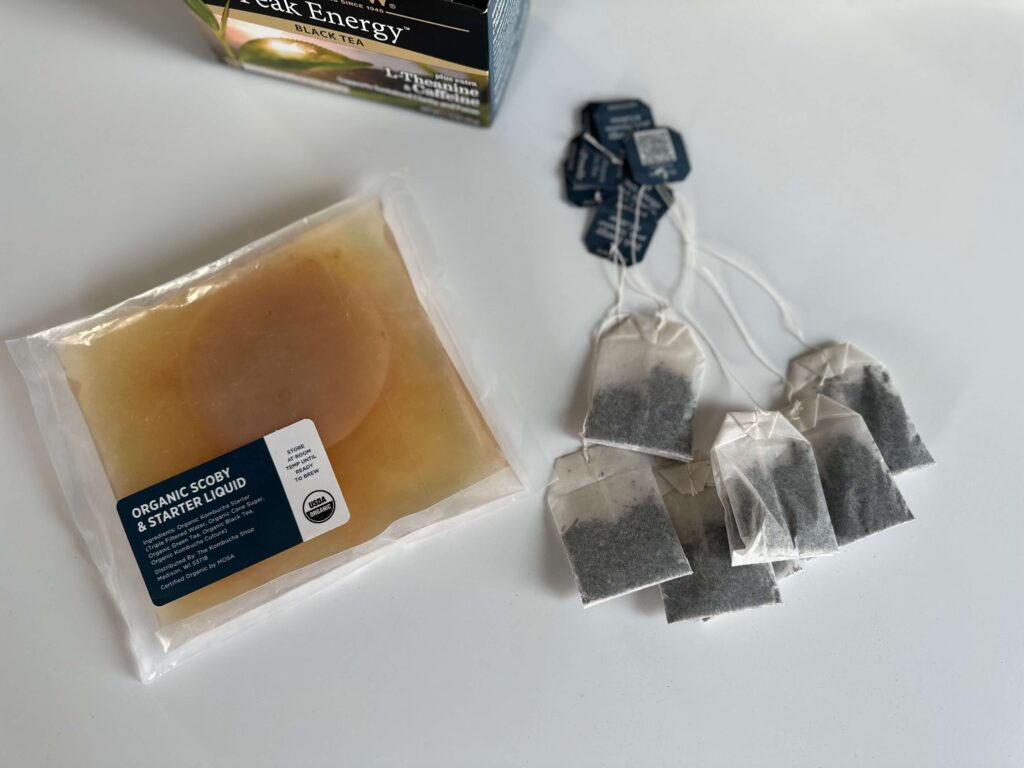
- A used or new SCOBY
- 1 cup of premade kombucha (or this SCOBY, which comes with starter liquid)
As you can see, these homemade kombucha instructions require you to have a starter kombucha SCOBY. If you don’t already have your own SCOBY, get a SCOBY before following the rest of these instructions.
Since you don’t necessarily need a fresh SCOBY, you may also consider getting it from a friend or relative who is already brewing kombucha. Since SCOBY creates layers, someone you know will likely be happy to give you a section of their SCOBY to start with.
Your SCOBY should also already be soaking in raw, unflavored kombucha before you use it to make your homemade kombucha.
Kombucha Ratios
Once you start making your own kombucha tea, you’ll become familiar with what works best in your climate. The older your SCOBY, the easier it is to get it to ferment. No matter what, you’ll always want organic tea (I like black tea for the caffeine), sugar, a healthy SCOBY and some of its starter tea.
If you didn’t know, SCOBY stands for Symbiotic Culture Of Bacteria and Yeast. Due to its bacteria and yeast makeup, the SCOBY will ultimately take the caffeine and sugar from the sweet tea and convert them into different types of acids. So your primary goal is to provide enough food to your SCOBY.
Gallon Batch:
- 6 tablespoons loose tea OR 8 tea bags
- 1 cup sugar
- 14-16 cups water
- 1 cup starter tea
Half Gallon Batch:
- 3 tablespoons loose tea OR 4 tea bags
- 1/2 cup sugar
- 7-8 cups water
- 1/2 cup starter tea
How To Make Kombucha With SCOBY
Making kombucha tea is seriously so easy that you’ll soon be annoyed with how much kombucha tea you’re making. In fact, I keep extra SCOBY in a SCOBY hotel in the fridge when I need a break from making kombucha. Even if this is your first time making kombucha, this will be a breeze!
Step 1: Infuse the Tea
Boil half of your filtered water (8 cups) in a tea kettle or in a pot on the stove. Pour the other 8 cups of filtered water into a big glass vessel and set it aside for later.
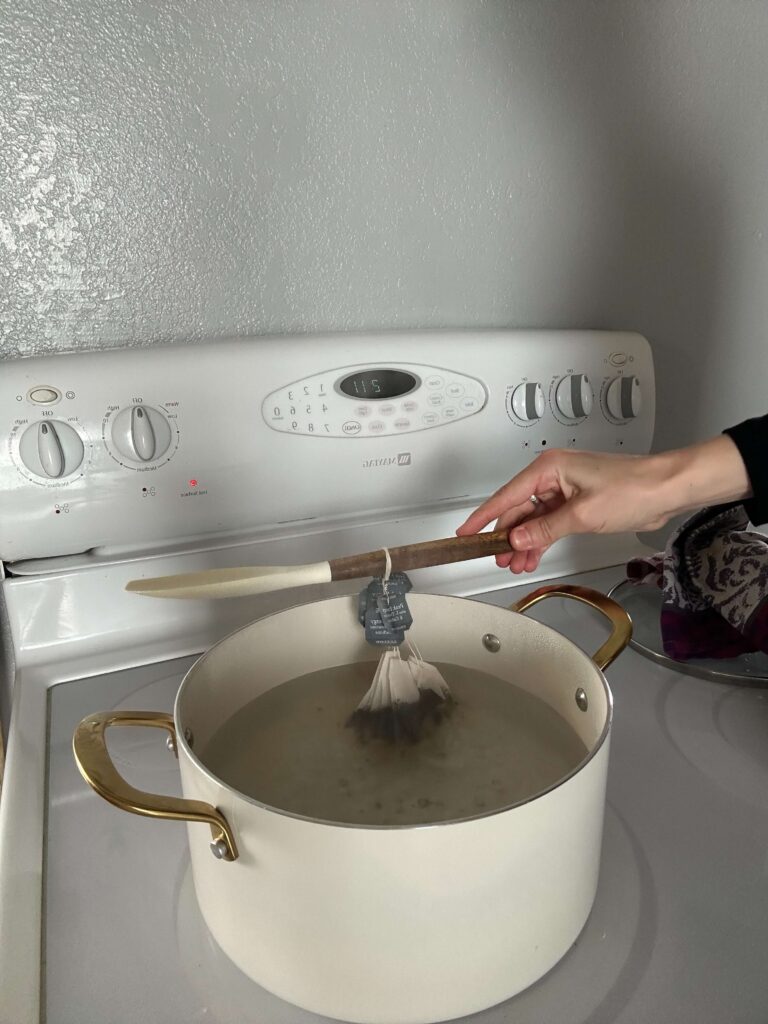
Once your water is boiled, turn off the kettle and stove and place all of your tea (8 tea bags or 6 tablespoons of loose tea) in the water to steep for around 10 minutes.
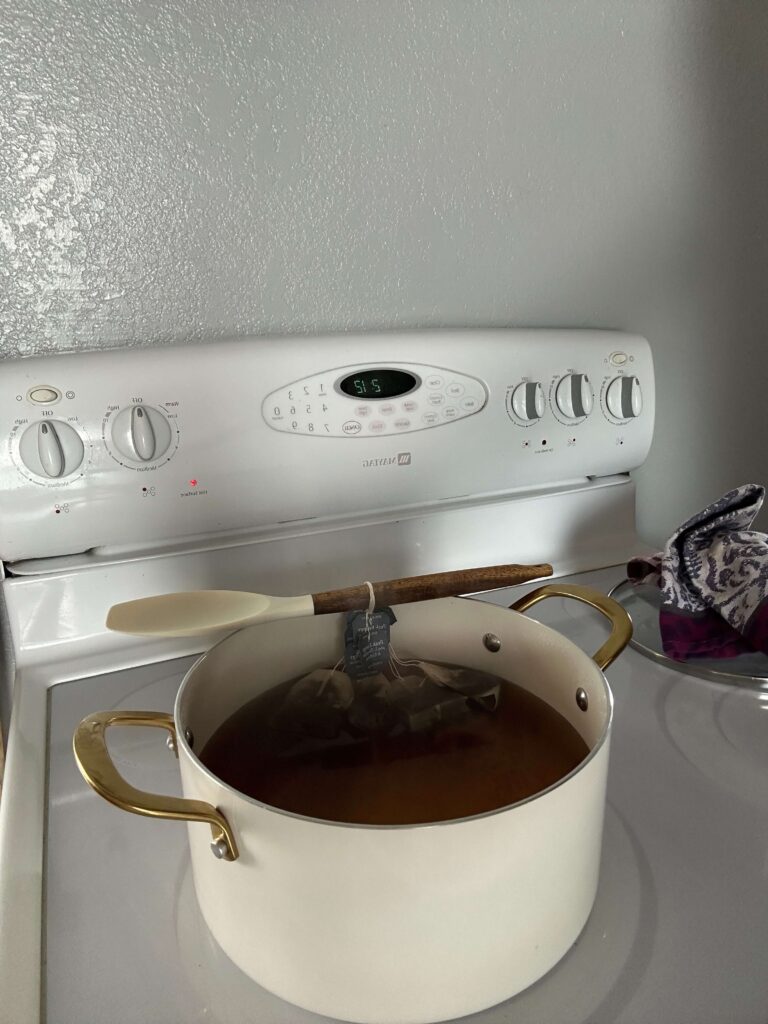
After the 10 minutes is up, pour your tea into the big glass vessel that contains your room temperature water. It’s helpful to keep some water at room temperature to help the tea start cooling down.
Step 2: Dissolve White Sugar in the Tea (and Nothing Else)
While your large vessel of tea is still hot, pour your sugar (1 cup) into the glass vessel. Most of this sugar will not end up in your resulting kombucha tea, as the SCOBY will feed off of it.
Make sure to use white cane sugar. Anything else — flavored sugars, brown sugars, coconut sugar, synthetic sugars, etc. — will throw off the symbiosis of your SCOBY. You need the chemicals of real cane sugar for your SCOBY to eat and convert the sugars into acids.
Should I add vinegar to kombucha?
Do not add vinegar to this sweet tea. Although you might have heard (and tasted) that kombucha has a vinegary taste, you should not put vinegar into this starter kombucha tea. You will end up introducing acids that are not meant to be there.
Leave that to the SCOBY. If not, the result will be converting your SCOBY into a vinegar SCOBY. This means that it won’t brew kombucha. Instead, you’ll be brewing vinegar in the long run.
Step 3: Combine the Kombucha SCOBY with the Tea
Before moving on to this step, you need to let the sweetened tea fully cool down to room temperature. Once the kombucha tea has cooled, transfer the SCOBY from the already fermented kombucha to the sweetened tea.
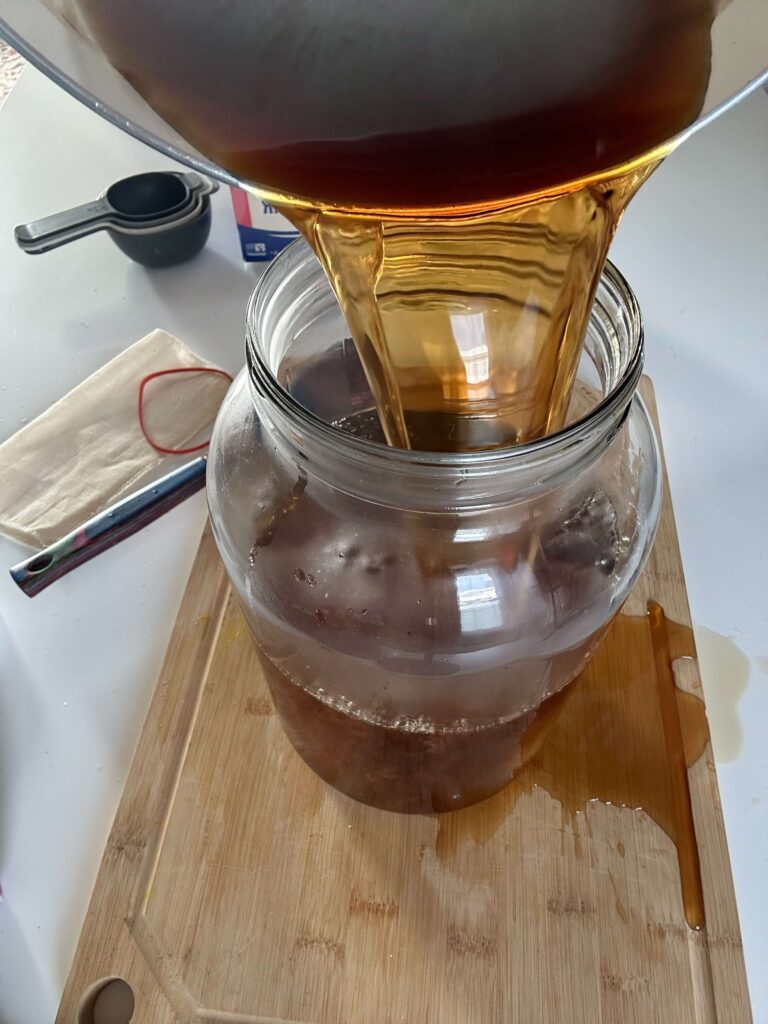
IMPORTANT: In order to raise the acidity and help with this brewing process, it is important to pour 1 cup of pre-made unflavored starter tea into this tea mixture as well, along with the SCOBY. If you skip this step, your SCOBY might die off before starting to brew your tea. You can use the kombucha brew your SCOBY was soaking in. Otherwise, if it is not enough, simply buy a plain kombucha from your local health food store.
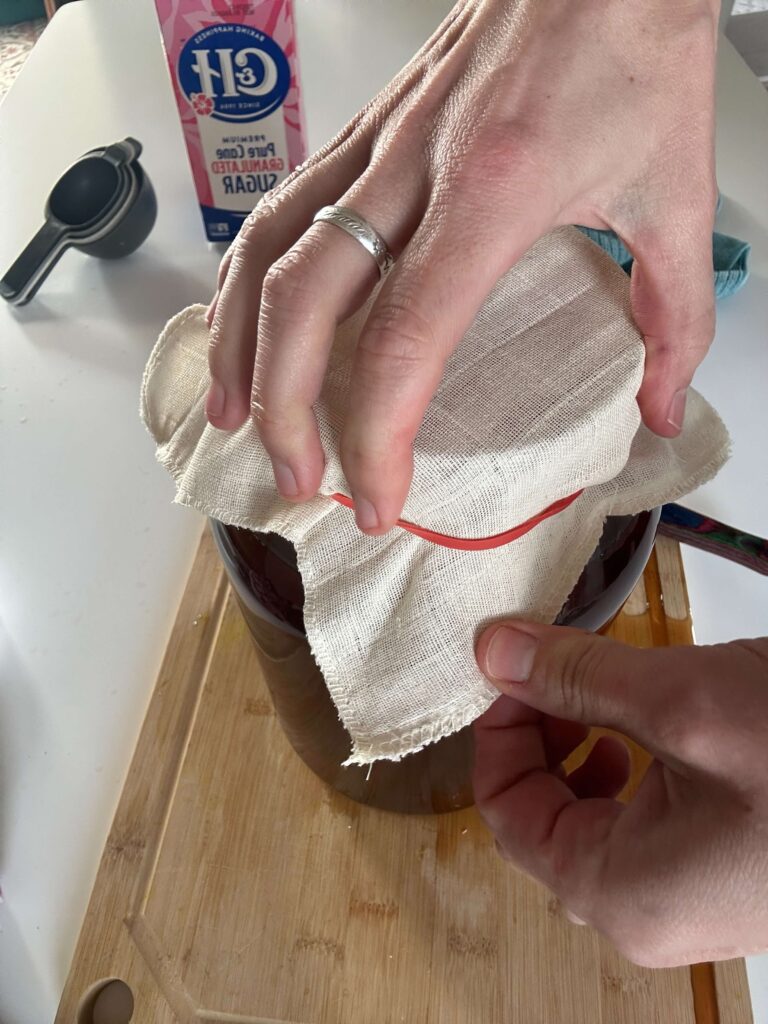
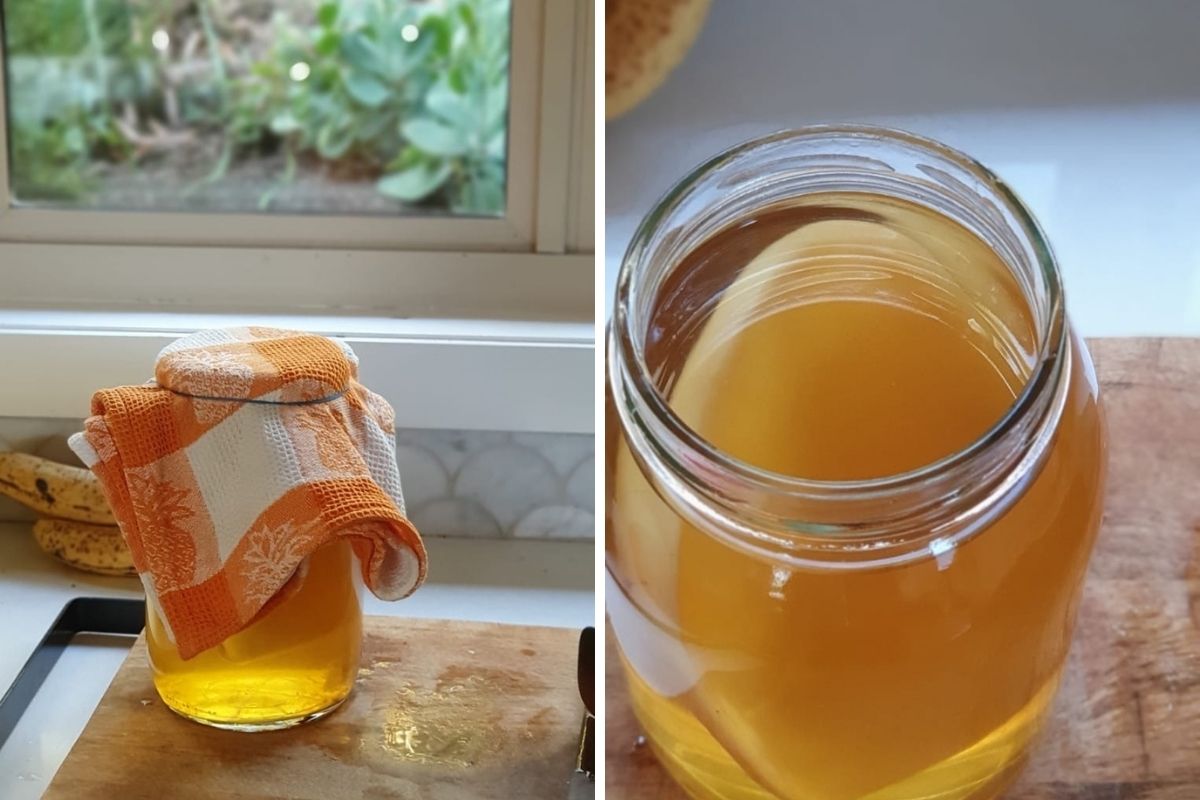
Step 4: Cover Your Brewing Kombucha Container and Let It Sit
The next step is to cover your kombucha brewing with a clean, tightly woven cloth. You want your SCOBY to breathe, but you don’t want any dirt, dust, or other particulars to get into your batch.
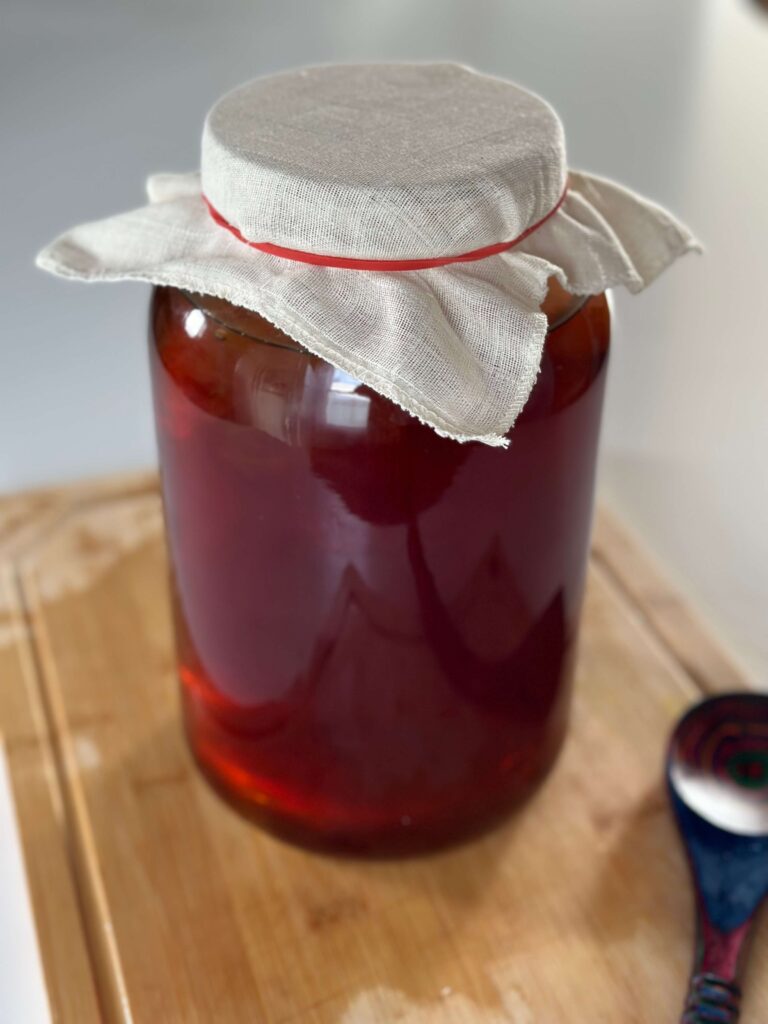
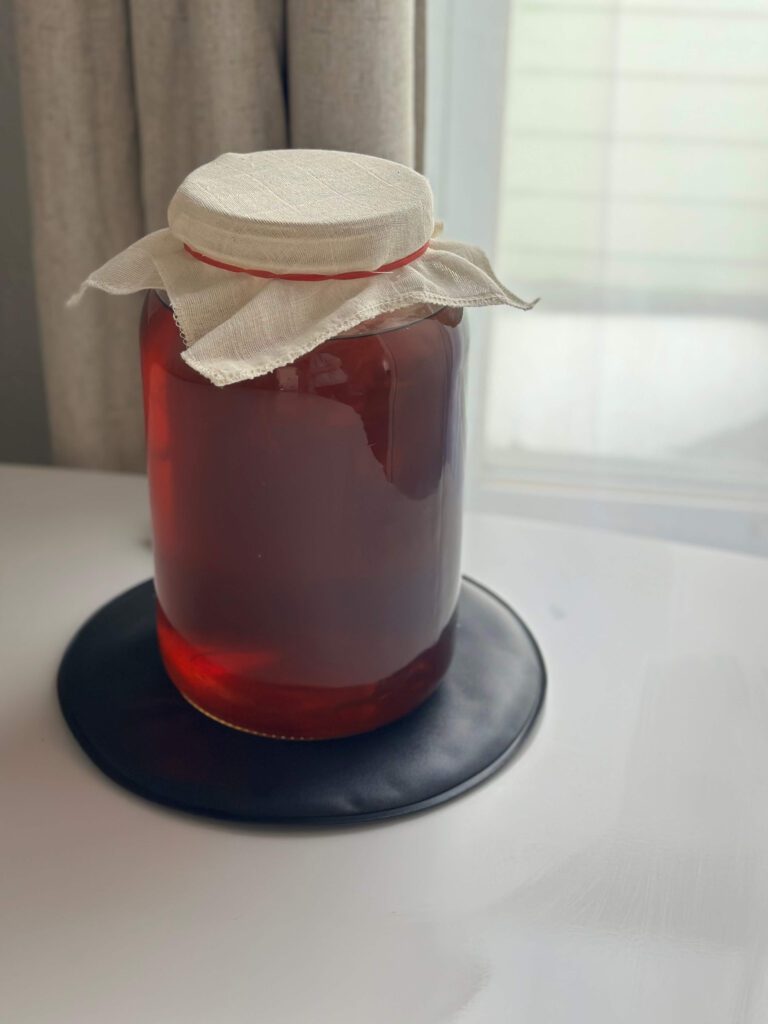
Let it sit for 7 – 10 days at a nice room temperature (between 68 and 72 degrees Fahrenheit). You also want to store the mixture in a dark area, such as a cabinet or a closet. You want to avoid leaving it in direct sunlight.
This heating pad can help regulate temperature, in case you’re in a colder environment like I currently am.

How Long To Ferment Kombucha
Seven days is a reasonable time for beginners. Leave it for closer to 10 days if you want the flavor to be more acidic.
The kombucha ferments for these few days, and throughout this process, your kombucha SCOBY is actively converting caffeine and sugar into different acids, which is the fermentation process.
The best thing to do now is just to leave it alone. Don’t fuss around with the bottle or check in on it. The kombucha SCOBY is working on fermenting correctly, and moving it around or messing with it in any way will disturb the natural process.
Also, do not store your container in the fridge, as many beginners often do. If the surroundings are too cold, the SCOBY cannot properly acidify the contents, which means it cannot correctly make the kombucha. This is why I put mine on a heating pad.
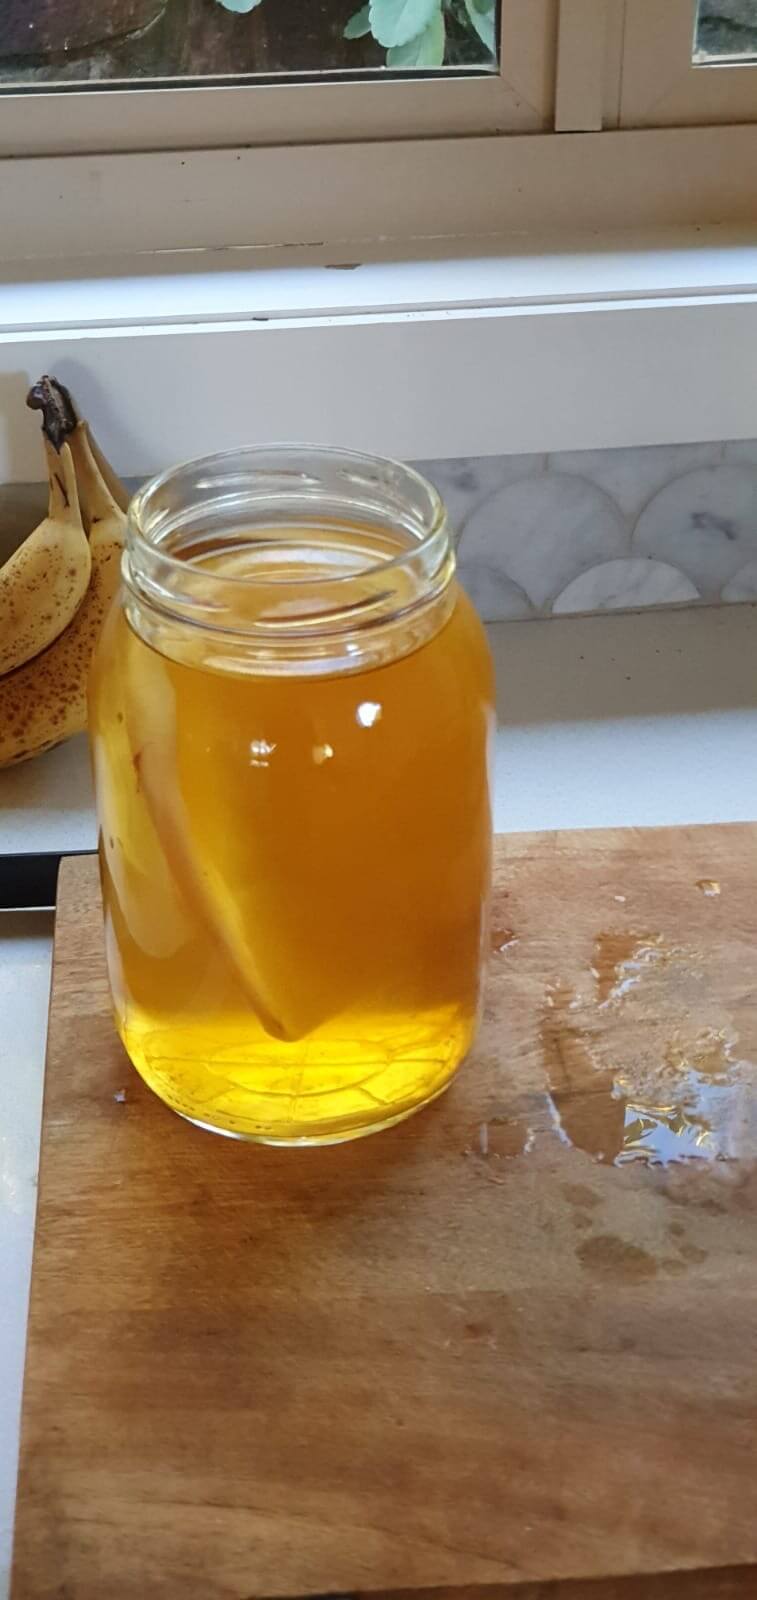
Step 5: Look, Smell, and Taste Your Homemade Kombucha
After the 7-10 days are up, check your kombucha to see if it fermented properly.
Everyone familiar with making kombucha knows that it might look weird after healthy fermentation, and that’s okay. But if you see any bright colors or fuzzy areas, this means that your kombucha has gone bad.
If you have a ph strip, check to see that your kombucha has a ph of around 2.5 – 3.5.
Finally, it’s time to begin tasting your kombucha. It should taste vinegary, and it is drinkable at this point. However, I recommend doing a second fermentation for the best taste. This is where the fun part begins 🙂
Step 6: Bottle Your Kombucha Tea for Second Fermentation
Now you are ready to bottle your fermented tea kombucha, without the SCOBY, for a second fermentation process. This second fermentation is useful for adding carbonation and flavor.
Before bottling, be sure to store the glass brewing vessel very well. Yeast might have settled at the bottom in order to distribute the yeast evenly throughout the brew.
The carbonation will happen on its own simply by bottling the kombucha and letting it sit for several more days.
I have used a few different types of bottles for the second fermentation, but I like this bubble airlock setup the most. It keeps things sterile and stops the sticky juice for bubbling over.
Kombucha Second Fermentation
If you want to add flavor, you can add fruit juice to the kombucha as you are bottling it. All you have to do is put the fermented kombucha into a glass bottle, about ⅘ full.
Then, pour your desired juice into the rest of the bottle. Let the bottle sit, tightly closed, in a cool, dark area for five more days. I recommend using a juice that contains no preservatives. People love making raspberry, peach, ginger kombucha, and more.
Kombucha Flavoring Ideas
Here are some creative and delicious flavoring ideas to inspire your kombucha creations:
1. Fruit Infusions
Fruits are a popular choice for kombucha flavoring due to their natural sweetness and variety. You can use fresh, frozen, or dried fruits to achieve different intensity levels of flavor. Some classic combinations include:
- Berry Bliss: Mix strawberries, blueberries, and raspberries for a berry-packed punch.
- Tropical Twist: Combine mango, pineapple, and passion fruit for a tropical getaway in a bottle.
- Peachy Keen: Use ripe peaches for a sweet, summery vibe.
2. Herbal and Floral Notes
Adding herbs and flowers to your kombucha can introduce a refreshing and sophisticated profile. These ingredients work well alone or paired with fruits:
- Lavender Dreams: A few lavender buds can create a calming, floral brew.
- Minty Fresh: Fresh mint leaves offer a cool, invigorating taste.
- Rose Elixir: Rose petals or rose water add a romantic and fragrant touch.
3. Spice It Up
Spices can add warmth and complexity to your kombucha, perfect for cooler seasons or for those who enjoy a kick:
- Ginger Zing: Fresh ginger adds a spicy, pungent flavor that’s both invigorating and good for digestion.
- Cinnamon Swirl: A stick of cinnamon infuses a warm, sweet spice, great for pairing with apple or pear slices.
- Chai Spice: A blend of cinnamon, cardamom, cloves, and black pepper brings the cozy flavors of chai tea.
4. Citrus Zest
Citrus fruits can add a bright, tangy flavor to kombucha, perfect for refreshing and uplifting blends:
- Lemon Lift: A squeeze of lemon juice or a few strips of lemon zest can brighten up any brew.
- Orange Glow: Orange slices or zest contribute a sweet, citrusy burst.
- Grapefruit Gush: Grapefruit offers a slightly bitter, zesty flavor, great for a sophisticated twist.
5. Creative Combinations
Don’t be afraid to mix and match flavors to create your unique concoctions. Here are a few ideas to get you started:
- Apple Cinnamon Ginger: For a kombucha that tastes like pie.
- Blueberry Lavender: A floral berry delight.
- Pineapple Basil: An unexpected, tropical herbaceous brew.
Step 7: Chill Your Kombucha – Then Enjoy!
Now that you have finished the first and second fermentation, put your bottles of finished kombucha in the fridge.
You want to make sure this bottle of kombucha chills before opening them up. Otherwise, the fizzy fermented tea developed during the second process might find its way all over your kitchen floor!
How To Store SCOBY
Here’s how to keep your SCOBY safe when it’s taking a break from fermenting.
How do you store a SCOBY when not in use?
The best way to store a SCOBY when it’s not in use is in a SCOBY hotel. A SCOBY hotel is simply a glass jar where you can stack multiple SCOBYs submerged in kombucha tea. This method keeps them in a dormant state but still alive and well, ready for your next brewing session.
Tips for SCOBY Hotel Maintenance:
- Keep It Covered: Use a breathable cover like a coffee filter or cloth secured with a rubber band to keep out dust and fruit flies.
- Store in a Dark, Warm Place: A pantry or cupboard away from direct sunlight is ideal.
- Monitor the Liquid Level: Ensure the SCOBYs are fully submerged; add fresh sweet tea if the liquid evaporates or is absorbed.
- Cleanliness: Always use clean utensils when handling your SCOBY to avoid contamination.
Does SCOBY need to be refrigerated?
It’s not necessary to refrigerate a SCOBY. In fact, keeping it at room temperature is preferable. Cold temperatures can slow down the yeast and bacteria, making it take longer for your SCOBY to wake up and start fermenting a new batch of kombucha.
How long will a SCOBY last?
A SCOBY can last for many years if stored properly in a SCOBY hotel. The acidic environment of the kombucha tea helps prevent mold and harmful bacteria from developing, keeping the SCOBY healthy.
How long can a SCOBY go without being fed?
A SCOBY can go quite a while without being fed new sweet tea — typically up to 3-4 weeks at room temperature. However, for long-term storage, it’s best to check on your SCOBY hotel every 4-6 weeks, topping it off with fresh sweet tea to keep the acidity levels stable and the SCOBYs healthy.
Common Questions
What type of tea do I use to brew kombucha?
Most people will recommend using black tea because of the caffeine. You can use green tea, oolong tea, or white tea as well. All of these teas can work to create kombucha. Stay away from decaf tea or any flavored tea. It’s best to stick with plain, organic tea. If you want your kombucha to be flavored, wait until the second stage of fermentation to add flavor with fruit juice.
Can You Ferment Kombucha Too Long?
Yes, fermenting kombucha for too long can lead to an overly sour and vinegary taste, as the SCOBY continues to consume the sugar in the tea. Extended fermentation also increases the acidity level, which might not be palatable or suitable for everyone.
How Do You Know When Kombucha Is Done Fermenting?
Kombucha is done fermenting when it reaches a balance between sweetness and tartness that suits your taste. This usually takes about 7 to 14 days. Taste testing every few days can help you determine when it’s just right for you.
How Do You Make a SCOBY from Scratch?
To make a SCOBY from scratch, mix 1 cup of brewed, cooled, sweetened tea (black or green) with a few tablespoons of store-bought, unpasteurized kombucha. Cover with a breathable cloth and let it sit at room temperature for 1-4 weeks. A new SCOBY will form on the surface.
Does Kombucha Actually Help Your Gut?
Kombucha contains probiotics, beneficial bacteria that can contribute to a healthy gut microbiome. Regular consumption may aid digestion and improve gut health, though individual results can vary.
What to Avoid in Kombucha?
Avoid using flavored teas or those with essential oils, as they can harm the SCOBY. Also, steer clear of metal containers or utensils, as the acidic kombucha can react with metal, contaminating your brew.
Why Is My Homemade Kombucha Not Fizzy?
Lack of fizziness usually indicates insufficient carbonation during the second fermentation. This can be due to not sealing the bottle tightly enough, fermenting for too short a period, or not adding enough sugar or fruit for the yeast to consume and produce carbon dioxide.
Why Is My Kombucha Fizzy After First Fermentation?
Kombucha can become fizzy after the first fermentation if it’s left to ferment for a longer period, especially in warmer conditions, as the yeast naturally produces carbon dioxide. This is more common in tightly sealed containers where the gas cannot escape.
Should I Strain Kombucha Before Second Fermentation?
Yes, it’s a good practice to strain kombucha before the second fermentation to remove any yeast strands or SCOBY pieces. This helps achieve a clearer beverage and can also prevent over-carbonation by removing excess yeast that could continue fermenting.
Closing Thoughts
And there you go. Now you know how to make homemade kombucha, and you can tell others that making kombucha isn’t so difficult. Happy drinking, and remember to save some of the raw tea for your next batch of kombucha!
Learn how to do other things
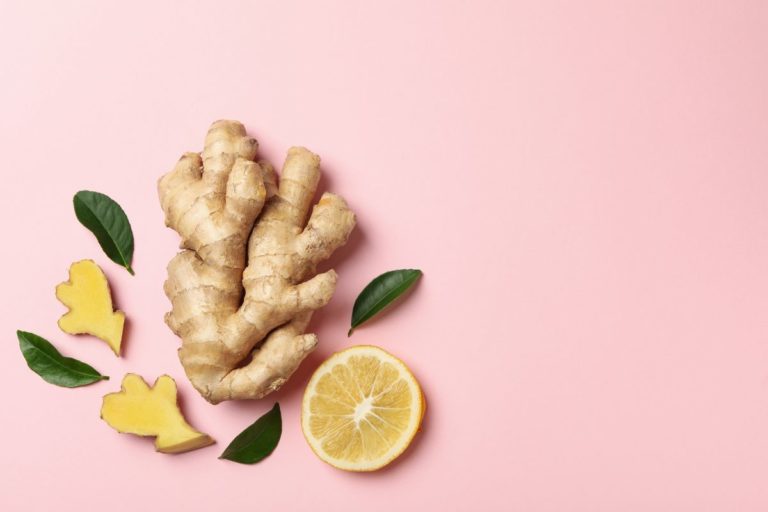
How to store ginger so that it lasts
Learn how to store ginger so that it lasts.
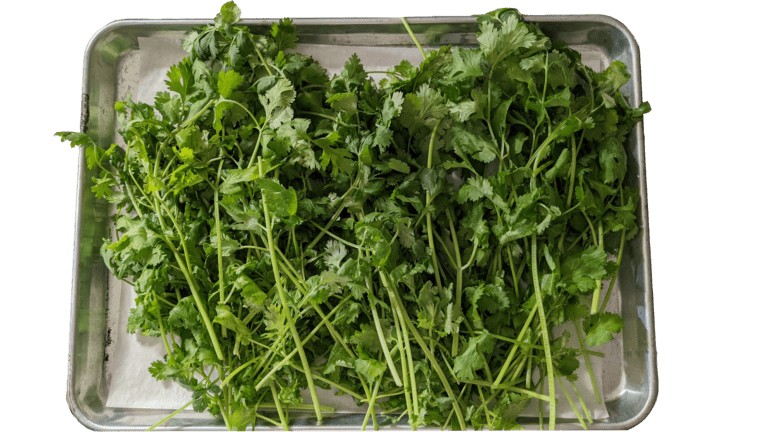
How to Store Cilantro So That It lasts
Learn how to store cilantro so that the flavor and freshness lasts for a long time.

How to Store Fresh Basil That Will Last A long Time
I experimented with a few different ways to store fresh basil. Here are my results!
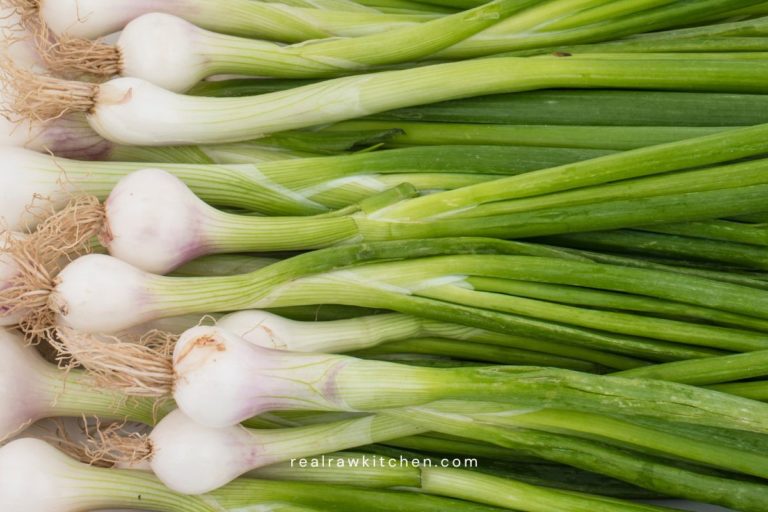
How to store green onions: I tried 5 ways
Hate mushy green onions in the fridge? Me too. I tested 5 ways to store green onions. Here is what works best.
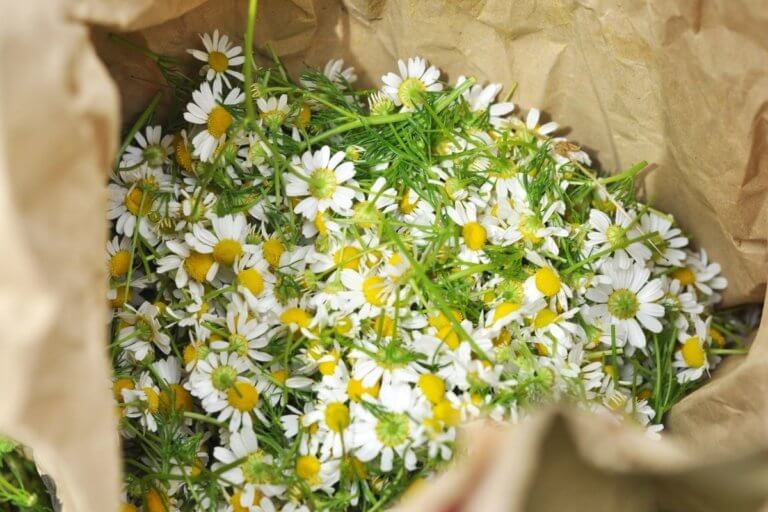
How to harvest chamomile and make tea
If you are growing your own chamomile, then you’ll want to harvest the plant for its medicinal benefits. Here’s how to harvest chamomile and store it.
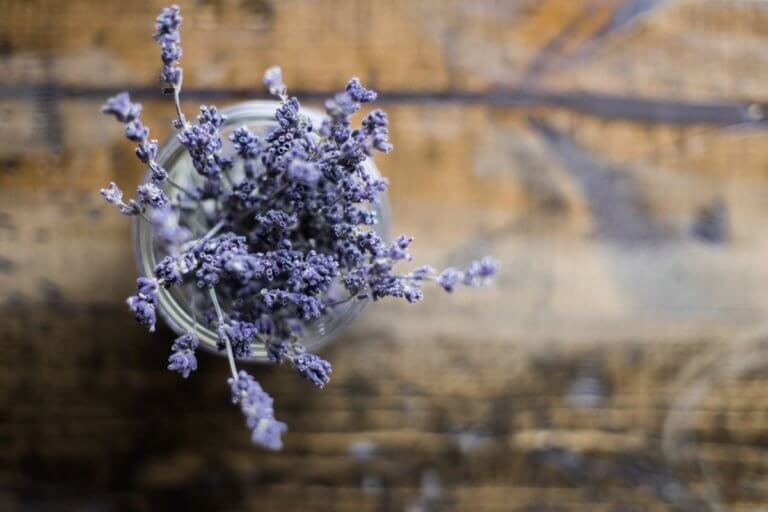
how to make lavender essential oil
Lavender is one of the most beloved and calming herbs of all. Learn how to make lavender essential oil at home (the real way), plus an easy tincture recipe.

how to make lavender oil in 7 easy steps
Capture the heavenly aroma of lavender with this luscious, DIY oil infusion. This guide will walk you through how to make lavender oil and what to use it for.
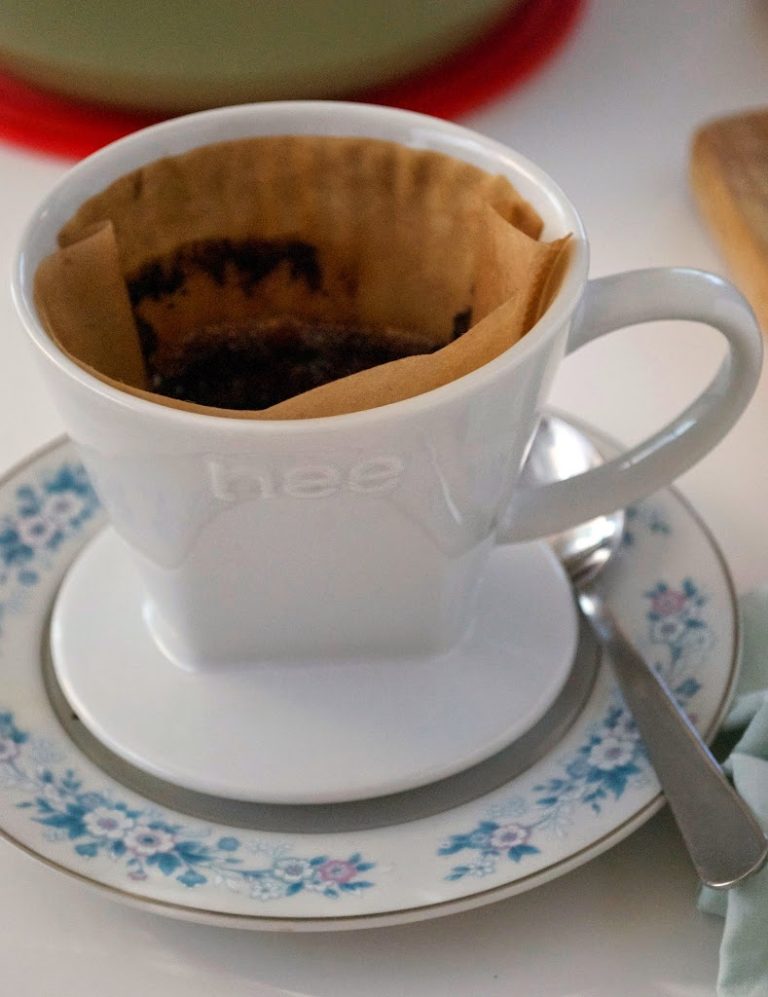
How To: make a great cup of coffee
I’m baaaccckk!! Sort of .. today .. for now. First things first, I’m so happy to…